
There is nothing quite like a shelf of jars you filled yourself. Here is how to plan a canning season.
Few things feel as good as a shelf lined with jars you filled yourself: peaches from August, tomatoes from the garden, a jam made with fruit you picked. Home canning takes some planning, though. This page is about the practical side: deciding what to can, starting small, and storing and sharing your jars. For the methods and safety rules, see our introduction to canning.
Decide what, and how much, to can
Start with what your household actually eats. If you use a jar of tomatoes a week, that's about 50 jars to see you through a year. A family that eats jam on toast every morning will go through far more than one that saves it for guests.
Plan around the season, too. Canning works best with produce at its peak, so it helps to know when strawberries, peaches, tomatoes and apples are most plentiful where you live. Farmers markets and pick-your-own farms are good places to buy in quantity.
Don't overdo it. Home-canned food keeps its best quality for about a year, so put up only what you'll use before next season's harvest comes in.
Start with an easy first batch
Acid foods are the gentlest place to begin. Jams, jellies, pickles, fruit and tomatoes with added lemon juice or citric acid are processed in a boiling water canner, which is simply a large, deep pot with a rack. A small batch of jam or pickles teaches you the basics: filling jars, leaving the right headspace, processing and checking the seals.
Low-acid foods such as green beans, corn, meat and soups need a pressure canner, which costs more and takes more practice. Many people add pressure canning once they're comfortable with the basics.
Whatever you can, use a research-tested recipe, such as those from the National Center for Home Food Preservation, and follow it exactly, including the adjustment for your altitude.
Gather your supplies
Besides the canner, you'll need canning jars in the size your recipe calls for, new flat lids for every batch, screw bands in good condition, a jar lifter, a wide-mouth funnel and a timer. Our page on how canning works has a full checklist.
Canning is not the same as vacuum sealing. A vacuum sealer removes air from a bag, but it doesn't heat the food, so vacuum-sealed food still has to be refrigerated or frozen.
Label and store your jars
Once the jars have cooled and sealed, take off the screw bands, wipe the jars and label each one with what's inside and the date. Storing jars without bands makes a broken seal easier to spot.
Keep them somewhere cool, dark and dry, ideally between 50 and 70°F. Avoid spots near the stove, furnace or hot pipes, uninsulated attics, direct sunlight and damp basements, where lids can rust. If you stack jars, don't go more than two layers high, and put a sturdy board or box between the layers.
Before opening a jar, check that the lid is still sealed and curves slightly down in the center. Never taste food from a jar with a bulging or loose lid, leaking or spurting liquid, an off smell, unusual color or mold. The National Center for Home Food Preservation explains how to handle spoiled canned food safely.
Share the harvest
Home-canned jam, pickles, sauces and fruit make lovely gifts. Label each jar with its contents and the date it was canned, add a note to refrigerate it after opening, and give jars you would happily eat yourself, made from tested recipes.
Last reviewed November 2026.
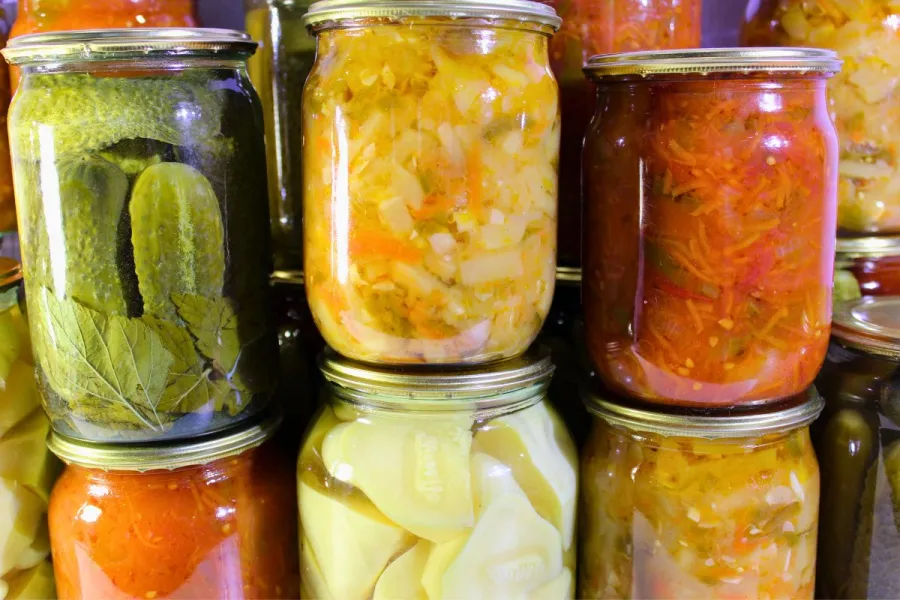
A canning year
What's ready to can depends on where you live, but in much of the US the season runs roughly like this:
Late spring: strawberries and rhubarb, for jams and sauces.
Summer: cherries, berries, peaches, cucumbers for pickles, green beans and corn.
Late summer: tomatoes, peppers and salsa ingredients.
Fall: apples and pears for sauce, butters and halves, plus winter squash for cubes (pressure canned).
Canning: the methods and the safety rules.
How canning works: what happens inside the jar.