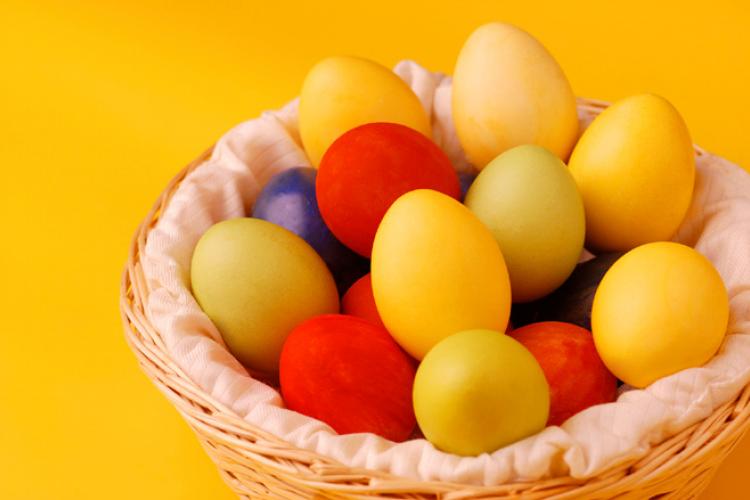
Dying Easter eggs naturally
Dye your Easter eggs this year with ingredients you already have in your kitchen. It is fun, and educational too!
Long before there was Easter, the egg was regarded as a symbol of new life and of spring. When Christians began celebrating the resurrection of Christ with the Easter holiday, the egg was a natural fit. Today it is one of the many symbols that we associate with the holiday.
There are many legends about how the tradition of dying Easter eggs came about. In researching why we dye eggs, a wide variety of explanations can be found. One is that the dying of eggs dates back to pre-Christians times where the colorful eggs were thought to attract good spirits. One Polish legend claims that as Jesus’ mother, Mary, begged the Roman soldiers to have mercy on her son, she wept. Her tears splashed on the eggs she had been carrying, and the eggs became spotted with beautiful colors. Greek Christians create red eggs to symbolize the blood of Christ, and the new life that is found through that blood. Regardless of why we color eggs, the practice has become a well established custom.
Dying Easter eggs is an enjoyable activity. It can also be educational. Of course you can buy commercial kits to dye your eggs. They are readily available, produce consistent results and bold colors. Perhaps this year, though, you might want try a more natural approach.
Dying with natural dyes will produce more muted and natural tones. Dyes can be made from an endless number of things that you probably have already in your kitchen. Think of items you use with strong colors, such as turmeric or beets, chances are they will make a good egg dye. Some may even produce surprising results, such as, yellow onion skins make a red dye, and red cabbage leaves, boiled, make a blue dye. Coffee, teas, and juices will often work too. Here is a partial list of items you can dye with to get you started:
- Blue – boiled red cabbage leaves, blueberries (canned or smashed)
- Purples – grape juice, violets
- Brown – coffee, tea
- Green – spinach
- Orange – carrots, paprika, chili powder
- Reds – cranberries (not jellied,) Spanish onion skins, cherries, raspberries, beets
- Yellow – turmeric, lemon rinds, cumin, saffron
The dye is made by covering the dying material with water, adding a couple teaspoons of vinegar, and boiling. Experimenting with the amount of material is part of the educational process, but you will need a fair amount of it. The more material and the longer you boil, the deeper the color, but remember the dye needs to be darker than you want the eggs. The eggs will be a lighter shade of the color.
There are several ways to go about dying the eggs. You can boil the eggs and the dyes separately. Strain the dye. Then add the boiled eggs to the hot liquid and allow to soak until the desired color. If they need to soak for more than two hours, and you plan to eat the eggs, finalize the soaking in the refrigerator.
Another option is to make and strain the dye, and then to cook the eggs by boiling them in the dye. Or you can make the eggs and the dye at the same time by boiling the eggs and the dying material together. For either of these options, the color can be made deeper by keeping the eggs in the dye longer if the color is not quite right by the end of the egg cooking time. Again, you will want to refrigerate if a longer soak is desired.
Some tips to keep in mind when dying eggs:
- Older eggs work best. Buy them at least a week before boiling. Newer eggs are hard to peel.
- Shine up the eggs by rubbing vegetable oil on cool dry eggs.
- Create designs by coloring with crayon or wrapping with rubber bands before dying. Those areas will not take the dye.
- Eat those eggs! Don’t waste them. Make deviled eggs, egg salad or just use them on a salad. But do be sure to keep them refrigerated if you will be eating them!
- Have fun with it, and don’t be afraid to experiment.
Dying Easter eggs is a fun tradition for parents and children alike. You can just buy the commercial kits, but think of the possibilities when making your own natural dyes with items already in your kitchen. Each of the methods described here will produce different results. Experimenting with the ingredients and the methods is part of the fun! Enjoy it!


